Blog, Coveralls, Messy Play & Sensory Play, Outdoor Activities
Making Coloured Ice Sculptures With Kids
Jul
Winter weather doesn’t mean outdoor art and messy play should stop, and our coloured ice sculptures are just one of the reasons why! Of course, you could make these during summer too. Quick and easy to make, they’re a favourite of ours and today we’ll show you why.
How to Make Coloured Ice Sculptures
Every kid loves ice. Whether it’s sucking up ice cubes with a straw, or finding ways to chip out a frozen toy, ice is always a winner. We’ve taken things a bit further with our coloured ice sculptures in that we’ve turned them into an art activity! Here’s how to make them:
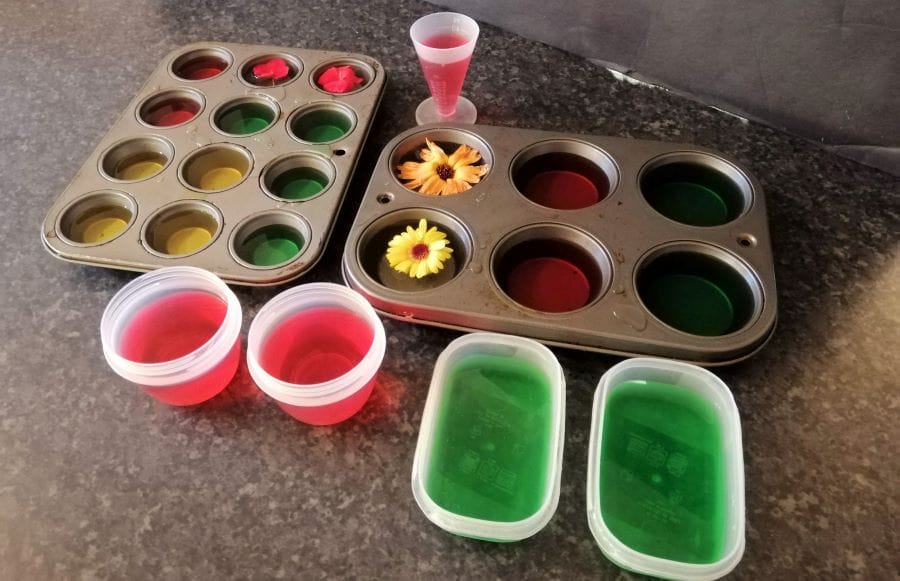
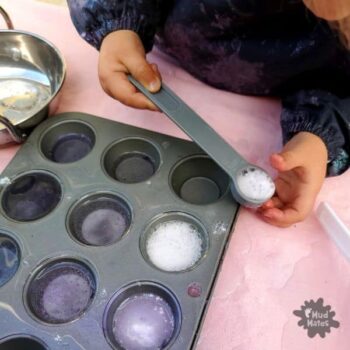
• Get yourself a range of different sized containers. Muffin trays, small bowls and cups work well.
• Fill a jug or other container with water and add food colouring till you have the desired colour.
• Pour the coloured water into the small containers, cups or muffin trays and put into the freezer until frozen.
• Repeat the ‘coloured water making and freezing step’ until you have a range of frozen coloured options.
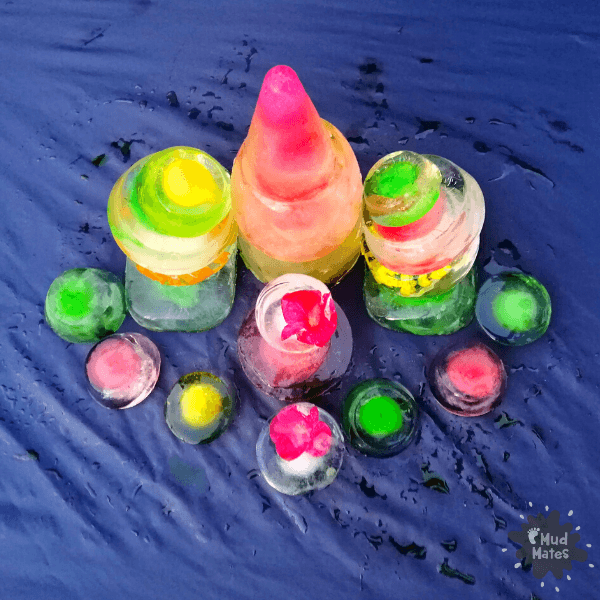
Then comes the fun bit! Run the containers under warm water to loosen and remove the ice, or set them on the bench for a few minutes. Take your collection of coloured ice outside and get creative.

Tips on Building Coloured Ice Sculptures
Here are a few things I learnt during this activity which will hopefully help take your creations to the next level!
- Only fill the moulds 90% of the way to allow for expansion. This will help keep at least one surface flat.
- Food colouring tends to move to the inside of a piece of ice. To help colour the outside, add a few drops to the already frozen piece.
- Use a large flat frozen piece of ice on the bottom of the sculpture, and gradually increase the ice sizes as you go up.
- Ice will stick together as it melts and then unsticks again just as quickly. Pop the sculpture parts into the freezer to stick them together for a longer time when creating the sculpture.
- Pouring a small bit of cold water over the ice will help pieces stick together temporarily.
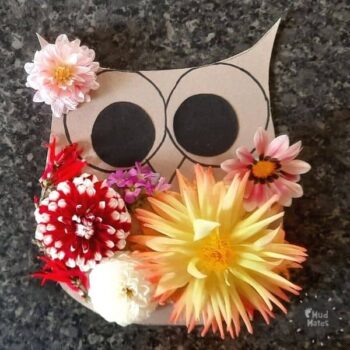
- Add plastic toys, flowers, leaves and even sticks to your ice to give it the wow factor.
- Boiled and then cooled water freezes clearer than water from the tap.
We’d love to see your ice sculpture creations! Don’t forget to tag @mudmates in your photos so we can share the fun — and be sure your little ones are rugged up in their Mud Mates Coveralls to stay warm and dry during this chilly winter activity!
For messy play inspiration and fun crafts and activities for kids sign up to our newsletter.
You can also follow us on Facebook, Instagram and Pinterest for more inspiration.
YOU MIGHT ALSO LIKE...
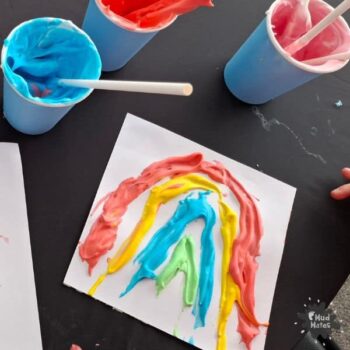
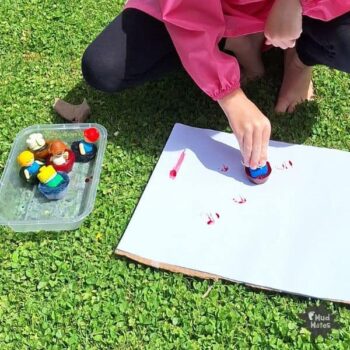
Kids Will Love This Fun Puffy Paint Activity!
When you’re looking for a hands-on activity that keeps kids engaged without needing a big [...]
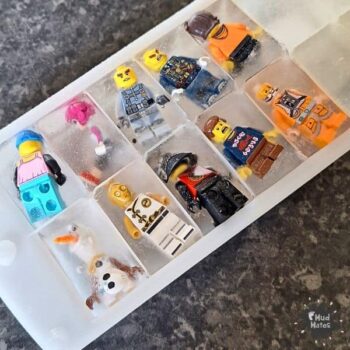
LEGO Ice Rescue: Fun Science Activity for Kids
Looking for an activity that’s as entertaining as it is educational? Lego Ice Rescue is [...]
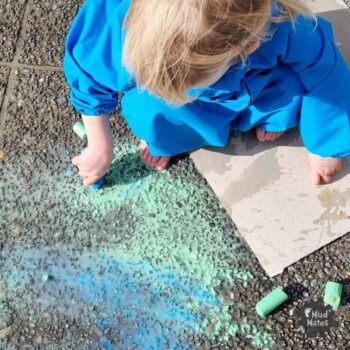
Ice Painting for Toddlers and Preschoolers
Ice painting is an engaging, colourful, and hands-on activity that’s perfect for toddlers and preschoolers. [...]
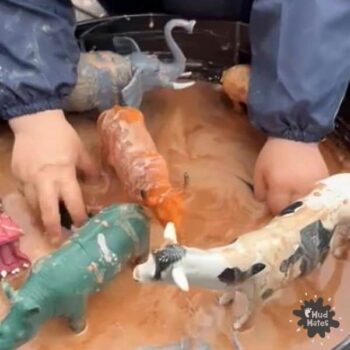
How to Make Muddy Oobleck
Are you looking for a fun and safe way to let your children enjoy messy [...]
Having Fun with Puddle Art
We’ve gone and found another great messy play activity to share with you all – [...]
Magic Potion Tips for Magical Mischief
Well, well, well. What do we have here? Small little people who fancy themselves as [...]
It’s Mud Painting Time
If you haven’t done mud painting before, where on earth have you been?! Mud painting [...]
6 Cute Ideas for Mother’s Day Crafts
This May, increase your chances of getting a handcrafted gift from your children by sharing [...]