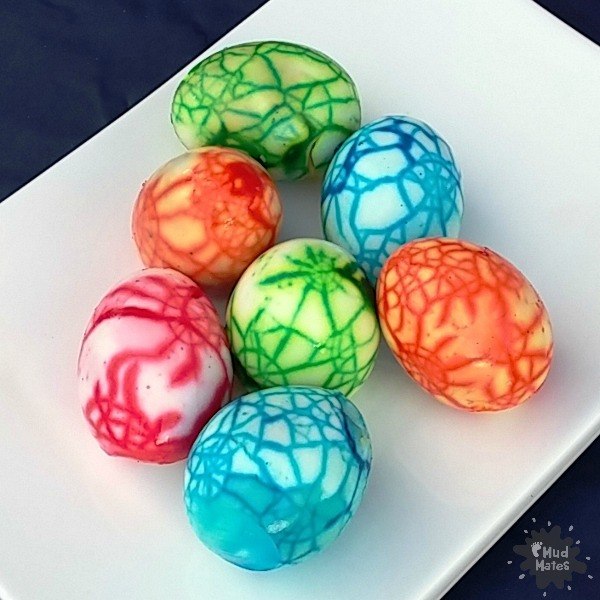
With Easter just around the corner I decided it was time for an Easter-inspired activity! This is a spin on dyed hard-boiled eggs, as instead of dying the shell you’re actually colouring the white of the egg. The marbled eggs look so pretty and Master 5 and Miss 3 were thrilled with the result when peeling the shell away.
What You Will Need:
- hard-boiled eggs, cooled (as many as you would like)
- paper towels
- food colouring (range of colours)
- water
- white vinegar
- glasses/cups/coffee mugs
- spoon
Instructions for Making Marbled Eggs:
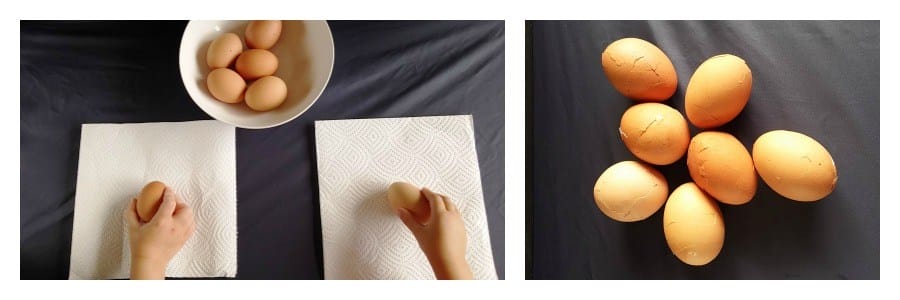
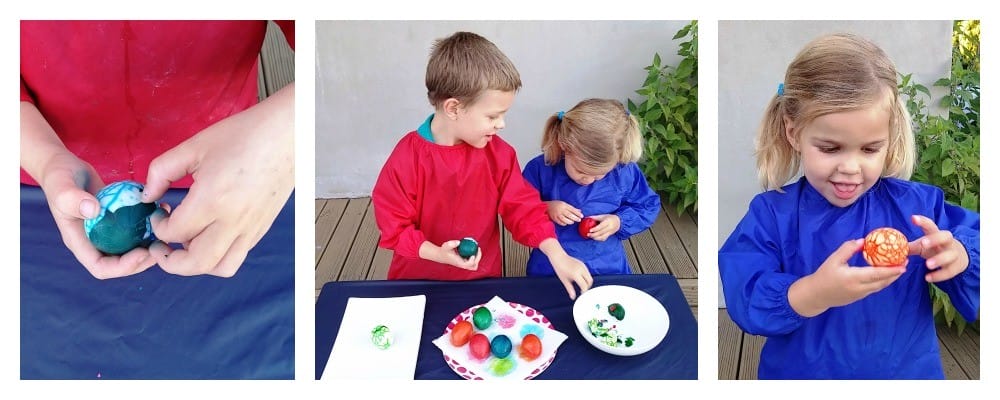
Take your cooled, hard-boiled eggs and on a paper towel, tap gently until the shell starts to shatter. Repeat the gentle tapping all around the egg taking care not to crack the shell too hard.
Master 5 and Miss 3 had great fun doing the cracking! The eggs should be cracked/shattered all over but the shell should still be intact.
In a separate glass/cup for each egg, mix together food colouring (I used about 20-30 drops to ensure a bright, vibrant colour but you don’t have to use this much), 1 Tablespoon of white vinegar (to help set the colour) and top up with water so the glass is about half full.
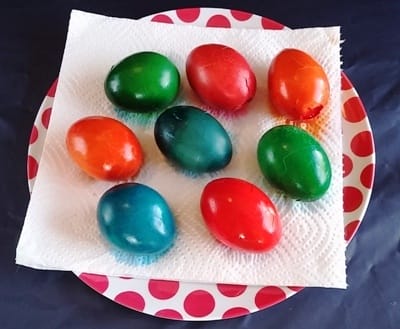
Place an egg on a spoon and carefully place it in the glass. Depending on the size of your glass you may fit one or two eggs. Top up with water to ensure the eggs are totally covered.
For food safety (if you plan to eat the eggs) place the glasses in the fridge to keep the eggs cool. We left ours overnight as I wanted to make sure we got a really lovely deep colour on the eggs, but you could try leaving them for just a couple of hours.

Now for the fun part!
Gently remove the eggs from the glasses and place on a paper towel. My kids were so excited already just to see the colourful eggs!
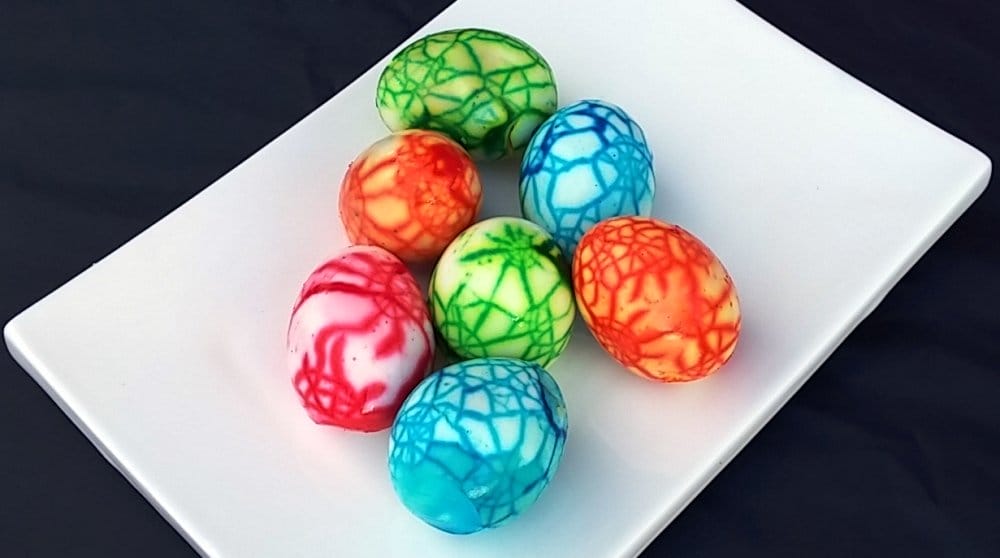
Carefully peel the shells to reveal gorgeous marbled eggs! Enjoy watching the delight on your children’s faces when they discover what is beneath the egg shell.
The final marbled eggs are colourful, vibrant and pretty! Almost too good to eat (but not quite, we made a delightful potato salad with our eggs!)
Have you done this before? Was it successful? Please leave a comment below. You may like to check out our Shaving Cream Dyed Eggs too!
For messy play inspiration and kid friendly activities sign up to our newsletter.
You can also follow us on Facebook, Instagram and Pinterest for more inspiration.
YOU MIGHT ALSO LIKE...
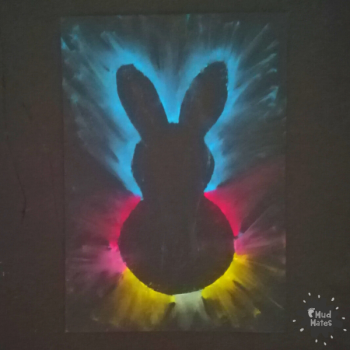
Puffy Paint Easter Bunny Craft
Looking for a fun Easter activity that doesn’t take much prep? This puffy paint Easter [...]
Pasta Easter Egg Decorations for Kids
Easter is the perfect time to get creative with kids, and crafting is a fantastic [...]

Colourful Cotton Bud Painting – Easter Eggs
Are you searching for a delightful Easter activity that combines messy play and an outlet [...]
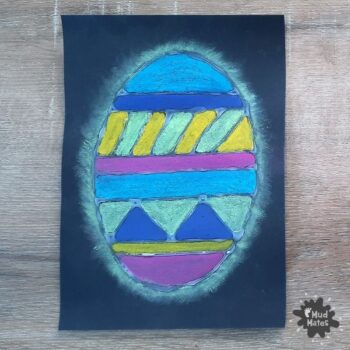
Chalk Pastel Easter Egg Art
This is a fun, vibrant Easter craft I’m sure your kids will love! And the [...]
Easter Egg Art Ideas for Kids
Searching for some Easter egg art ideas for the kids this Easter? You’ll be pleased [...]
5 Cute Egg Carton Crafts for Kids
It’s time to put your creative hats on (or rather for your child to put [...]
Two Adorable Easter Craft Ideas for Kids
Needing some Easter craft ideas to try between scoffing those cream eggs? We hunted high [...]
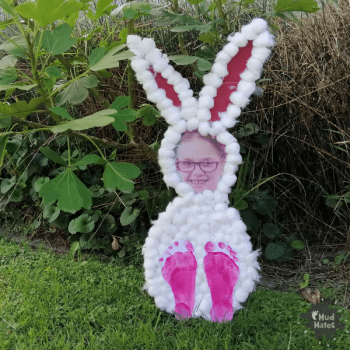
Cotton Wool Easter Bunny Craft
How adorable is this cotton wool Easter bunny! This is the perfect Easter craft for [...]
Pingback: Easter Egg Art Ideas for Kids - Mud Mates
Pingback: Crayon Resist Easter Eggs: Eater Craft Activity for Kids
What a brilliant idea. Thanks so much for sharing. Thinking these would make a wonderful Easter surprise in the lunchbox as well.
Thanks Rebecca. Yes they sure would! What a great idea.